This section will help you to set up your company and team members in under 10 minutes, and get you ready to load up your first project. To save time, have the following details handy because they will be required while setting up your account:
Your company legal name and any trading name that you use.
Your company’s registration number (e.g. ABN for Australia).
Your company logo in an image format (e.g. JEPG or PNG).
Your business address, phone number and general email.
The name, mobile number and email address for each of your internal team members.
The team members to whom you wish to give authority to administer your WeBuild account.
After you enter and verify your email address, follow the steps outlined below in order to finalise setting up your WeBuild account.
Step 1 - Create an account for your company
Create an account for your company
Welcome to Webuild! This article will teach you how to create a new company account for your organisation.
Note: If your organisation already has a WeBuild account and you would like to join your team, ask a colleague to invite you.
Step 1: Register your email address
To register your email address click this link, type in your email address and password and click the “CREATE ACCOUNT” button.
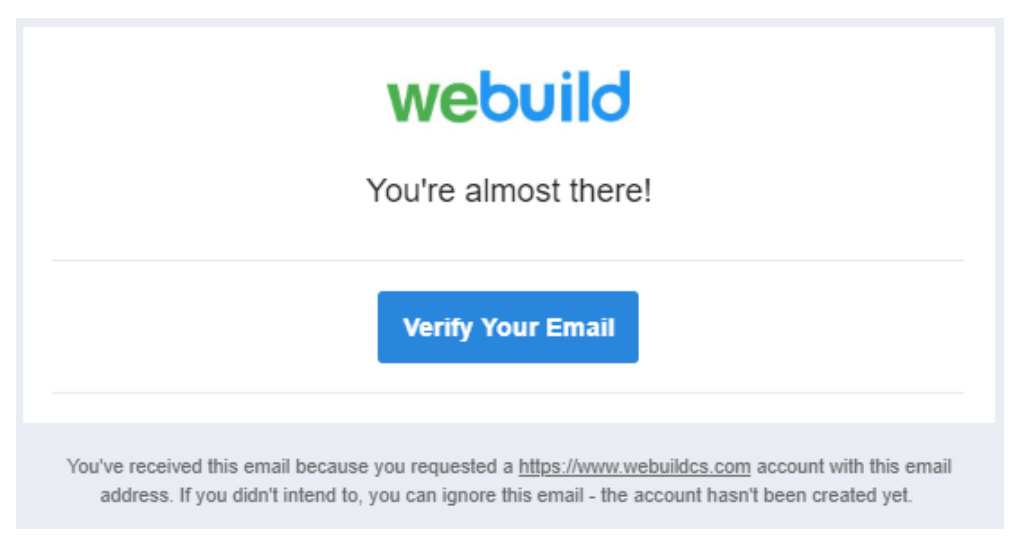
Step 2: Verify your email address
Check your inbox for an email titled “Thanks for your registration!”, open the email and click the “Verify Your Email” button. You will then be directed to the registration wizard (see Step 3).
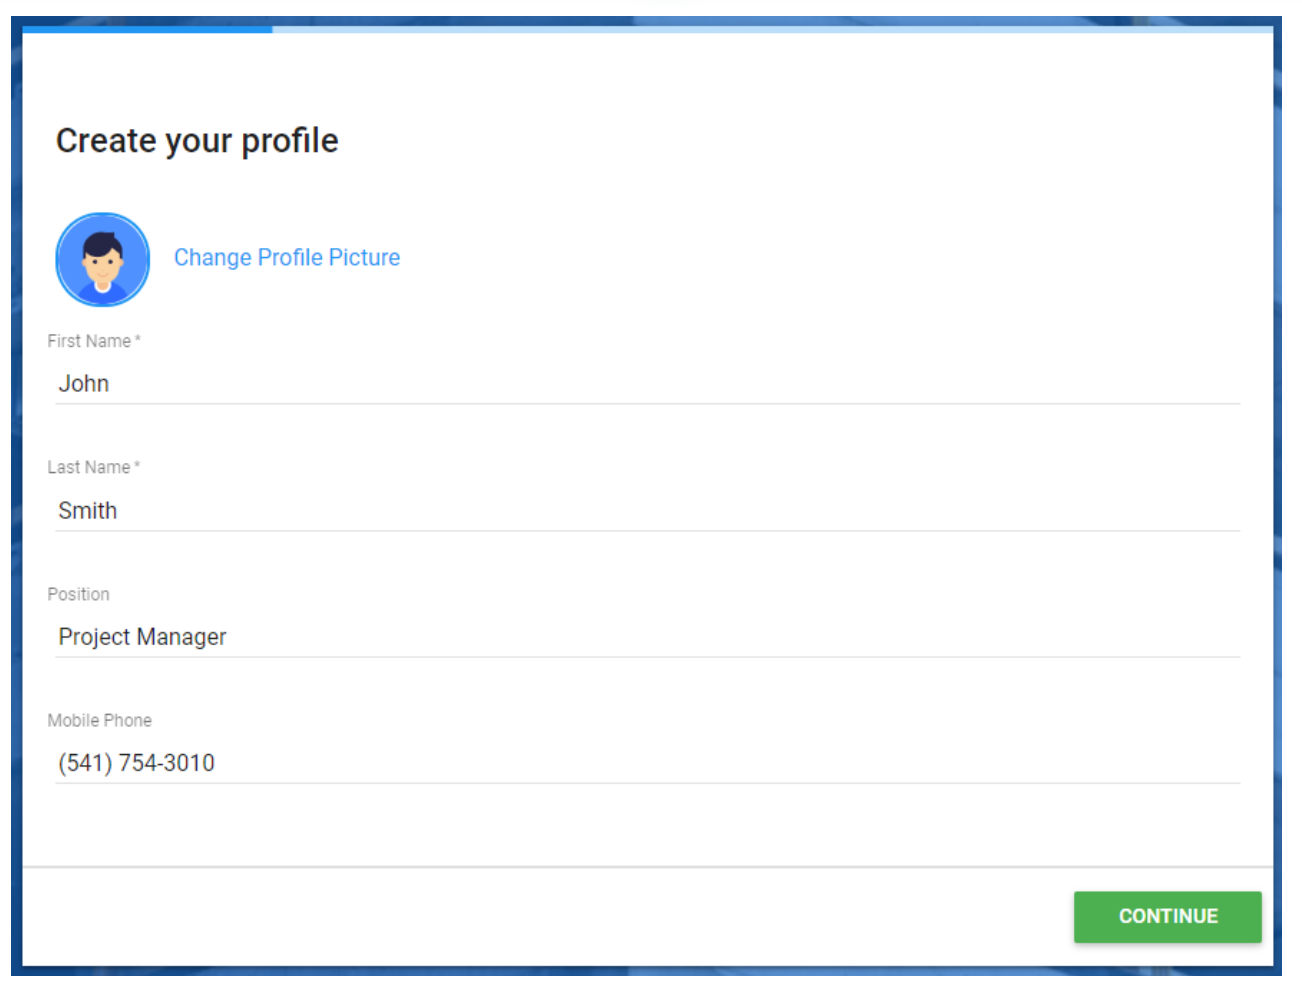
Step 3: Complete the registration wizard
a) Start by completing your user profile, then click the “CONTINUE” button:
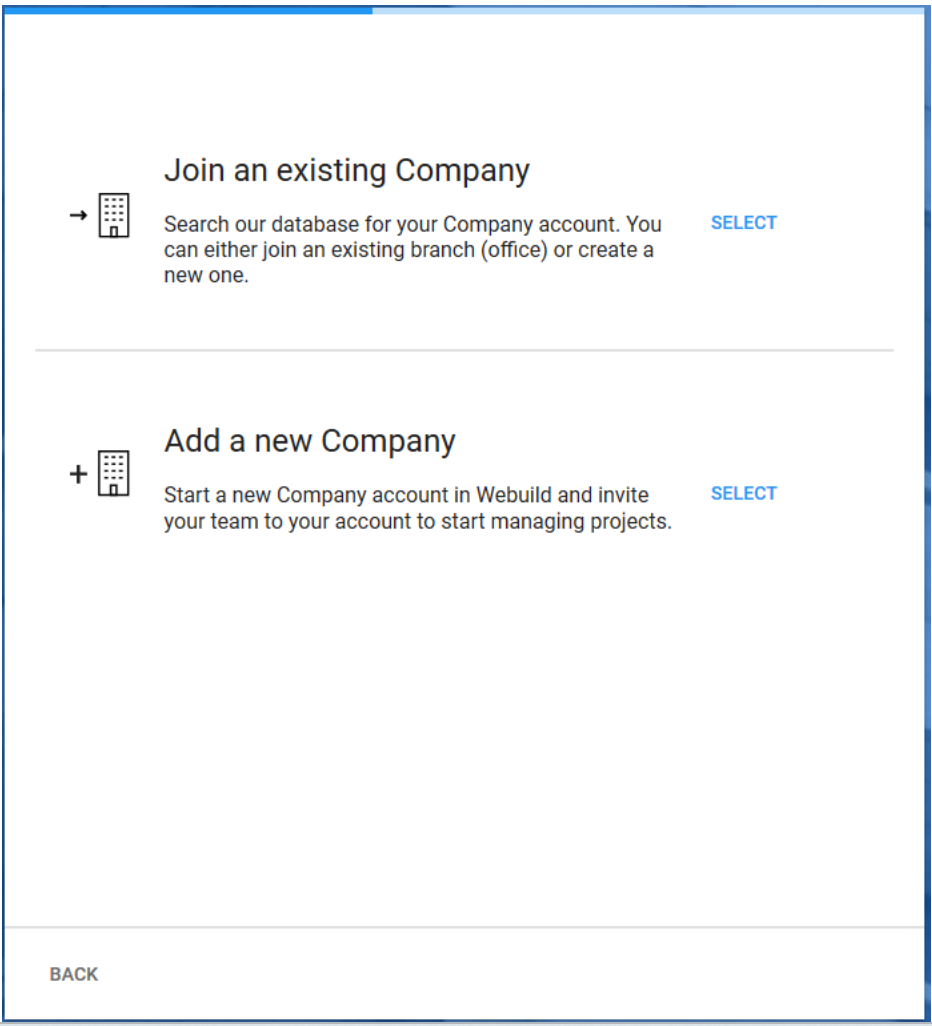
b) You can then click the “SELECT” button to the right of “Create your Company account”:
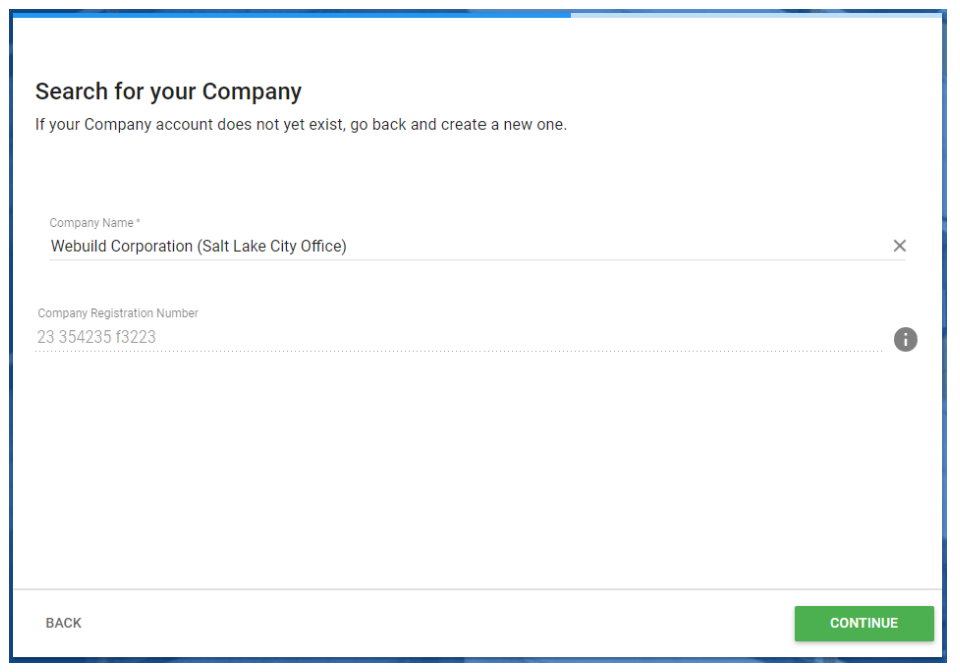
c) After typing in your Company name and Company registration number, click the “CONTINUE” button:
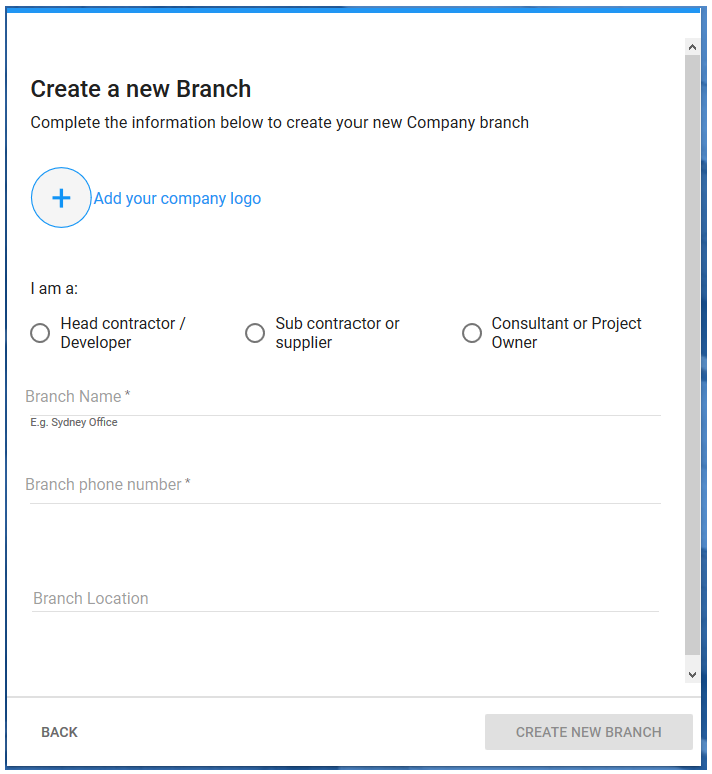
d) The final step is to complete your company branch information, including your office name (e.g. New York office), address and other information.
Click the “CREATE NEW BRANCH” button to finish creating your account.
Step 2 - Add team members to your company account
Add team members to your company account
To invite team members to your organisation, login to your Webuild account and follow the below steps.
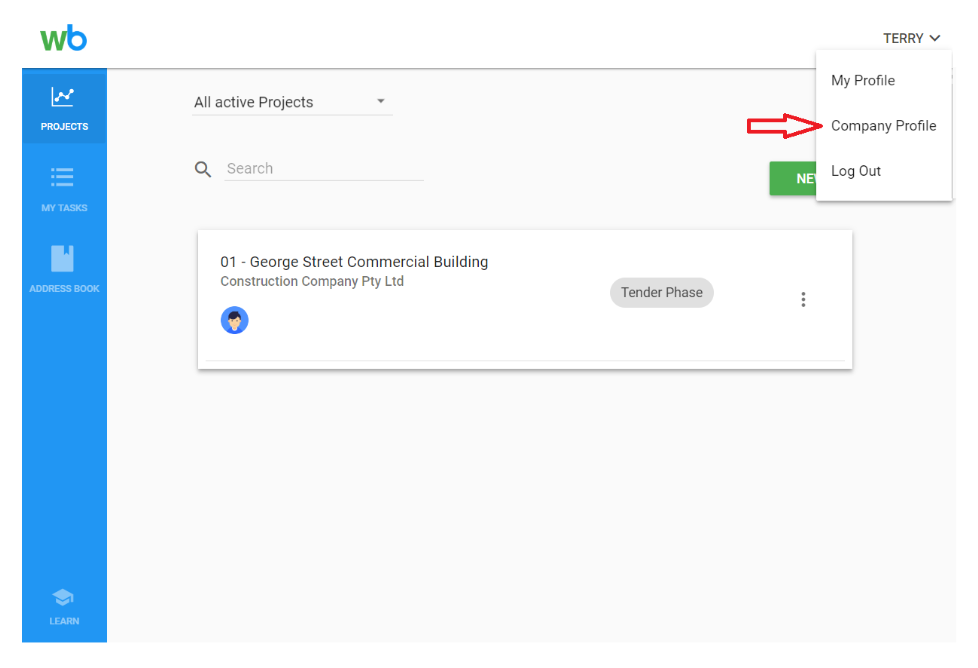
Step 1: Go to your company profile
After you log in to your Webuild account, you can access your company profile by clicking your name on the top right-hand side of your screen.
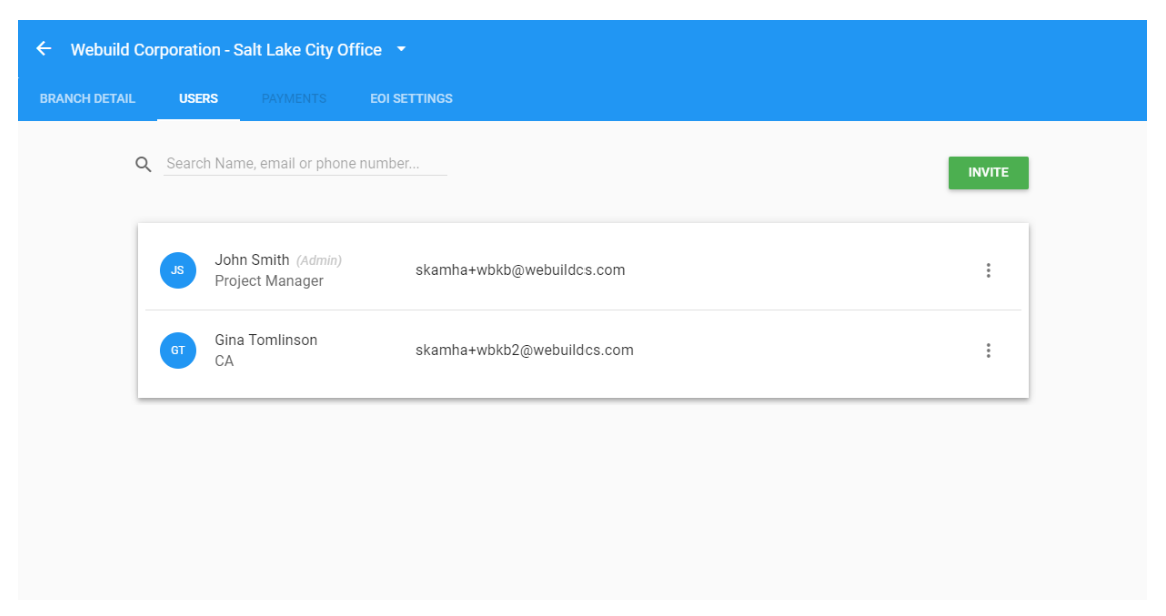
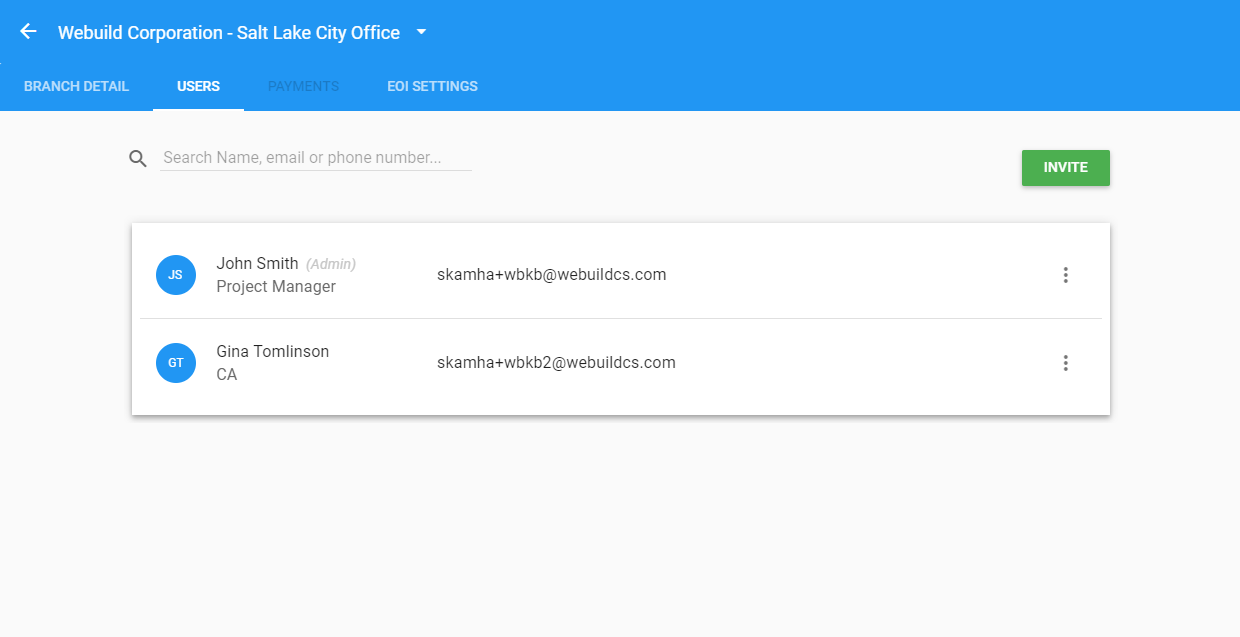
Step 2: Click the user’s tab
Once you have navigated to your company profile, select the Users tab and click the INVITE button to invite team members to join your account.
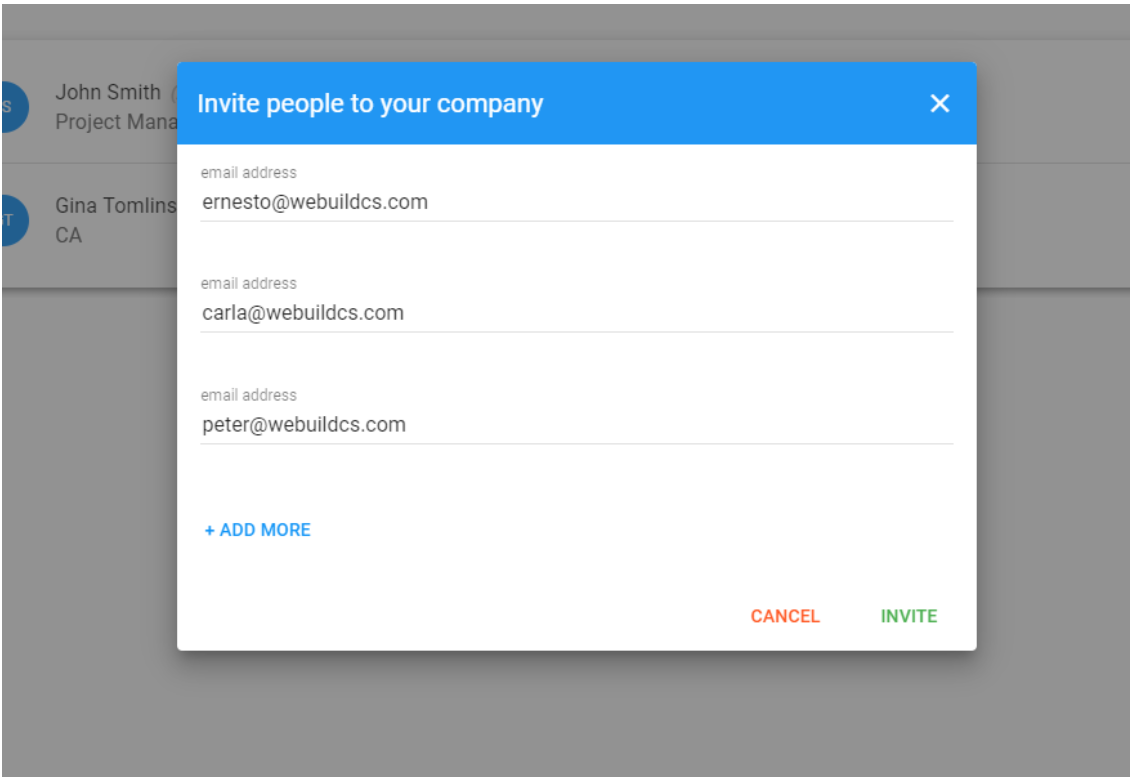
Step 3: Invite team members
Type in the email addresses of team members you would like to invite to join your company branch, then click the INVITE button.
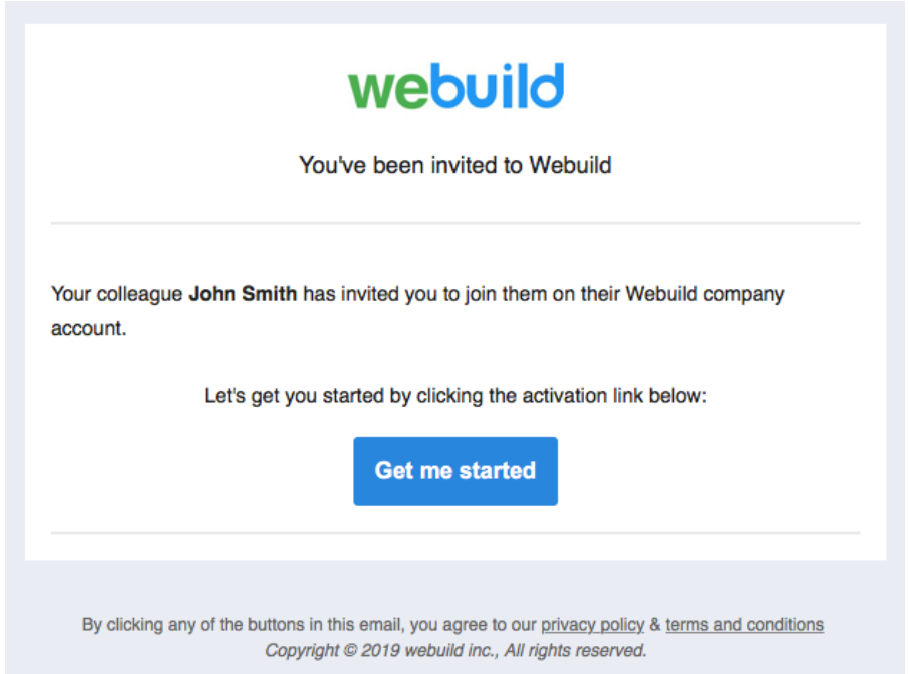
Step 4: Email to invited team members
Invited team members will receive an email notification.
After clicking the “Get me started” button, team members will be directed to a one-step wizard to confirm some information and add their password.
Once this is done, team members will have access to their account and start working on projects.
Step 3 - Assign admin rights to team members
Assign admin rights to team members
Admin users can:
Edit company name and branch information
Remove other users
Give admin rights to other users
To assign admin rights to team members in your account, follow the below steps.
Step 1: Go to your company profile
After you log in to your Webuild account, you can access your company profile by clicking your name on the top-right hand side of your screen
Step 2: Click the users tab
Once you have navigated to your company profile, select the USERS tab and click the INVITE button to invite team members to join your account.
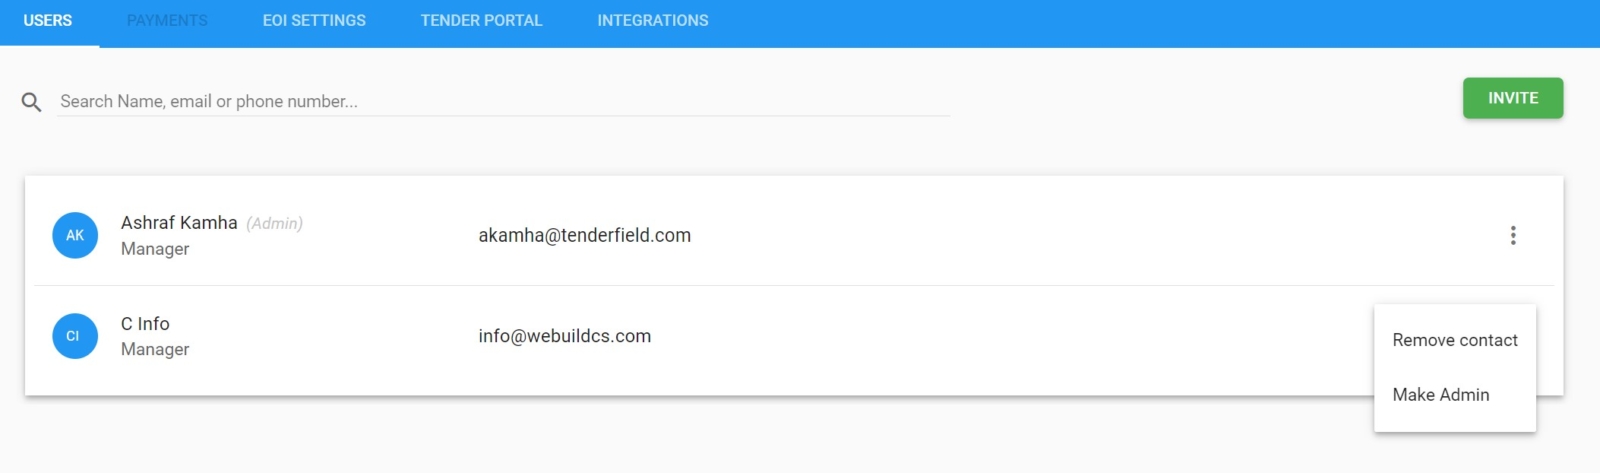
Step 3: Click the overflow button
Click the small button on the right-hand side of the related user and select “Make Admin” from the menu.
Sper 4 - Import your contacts into the Address Book
Complete the Address Book section by importing your contacts: • Import your contacts from Outlook (native) – See THIS SECTION for details, OR • Import your contacts from Gmail, LinkedIn, iCloud or other webmail – See THIS SECTION for details, OR • Import your contacts from a CSV file – See THIS SECTION for details, OR • Import your contacts via spreadsheet copy/paste – See THIS SECTION for details.
Step 5 - Create your first project
Create a project
Now that you have created your Webuild account, added your team members and imported contacts into your organisation’s address book, you are ready to create your first project.
This article will teach you how to create a project with your Webuild account.
Step 1: Log in to your account and click CREATE PROJECT
After logging in to your account, your “Projects” area will be displayed. Click the “NEW” button to start the create project wizard.
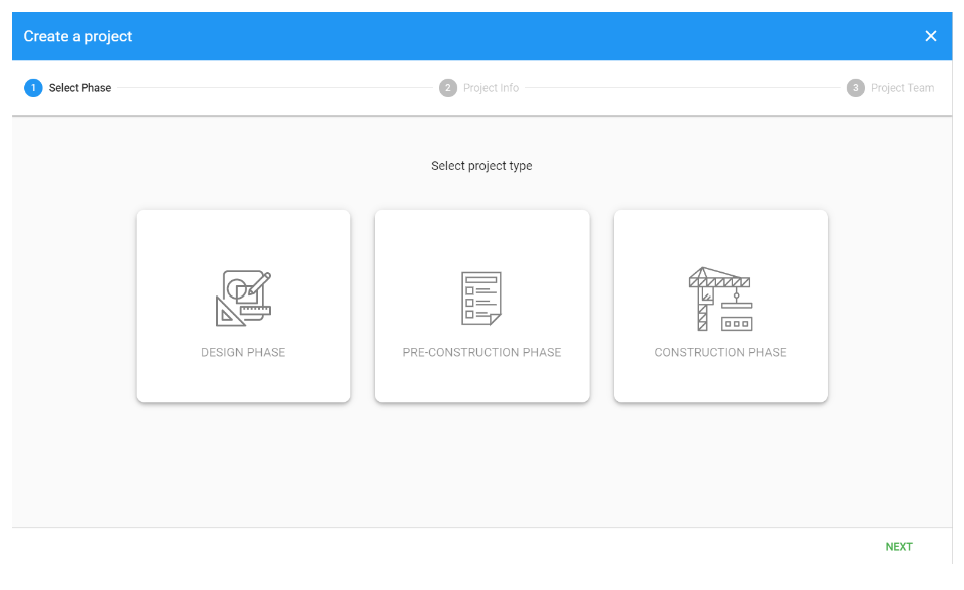
Step 2: Select your project type
In the first step of the create project wizard, you have the option to select either the “Design”, “Pre-construction” or “Construction” phase project type.
To learn about the differences between project types and the handover process, go to Project Admin section.
After selecting your project type, click the “NEXT” button.
Step 3: Add your project information
Complete your project information, then click the “NEXT” button.
Step 4: Add your project team and manage permissions
To add team members to your project, click the search field and select the team members you wish to add.
You can also invite new team members to join your organisation (and project) by clicking the search field and selecting the “ADD TEAM MEMBER” button.
After adding colleagues to your project team list, select their related permissions by clicking the menu to the right of their name and selecting either “Office staff” or “Site staff”.
Step 5: Create a project and send notifications
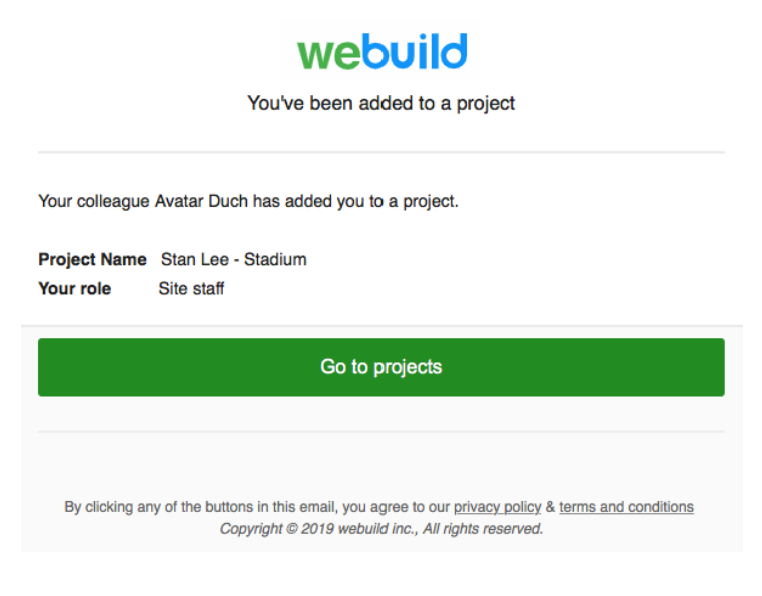
After adding your team members, click the “CREATE” button to finish creating your project.
Any added team members will receive an email notification like the one below, with a button directing them to your project.
Critical Path Method (CPM) is a defining resource for the construction industry. First developed in the late 1950s, the critical path method has been utilised in a variety of project development projects including engineering, aerospace and plant maintenance. CPM has rapidly become an essential staple for construction projects today, but many business owners are intimidated from what is perceived as a complex process.
https://www.webuildcs.com/wp-content/uploads/Scheduling_blog_thumbnail-copy.jpg7491123WeBuildhttps://www.webuildcs.com/wp-content/uploads/webuild-logo-R.pngWeBuild2023-04-05 11:18:322023-08-25 03:53:29Critical Path Method: Simplifying the process for your construction business
The value of As Built drawings is often underrated, especially their importance for the efficient management of the project after construction has been completed. This article takes a brief look at As Built drawings; what they are, how they are created and why they are important.
https://www.webuildcs.com/wp-content/uploads/A-guide-to-As-Built-Drawings.png315560WeBuildhttps://www.webuildcs.com/wp-content/uploads/webuild-logo-R.pngWeBuild2023-04-04 12:37:002023-07-23 10:09:39A Guide To Construction As Built Drawings
The customary monthly clients meeting is a time when you have the chance to give your clients progress updates about their project and provide them with a monthly report. Your monthly report says a lot about your professionalism and should not be rushed or overlooked. It is an ideal way to instill confidence in your clients about your company’s ability to communicate, and to demonstrate that you have a solid understanding of their project and their priorities.
https://www.webuildcs.com/wp-content/uploads/How-to-prepare-the-best-construction-client-report.png315560WeBuildhttps://www.webuildcs.com/wp-content/uploads/webuild-logo-R.pngWeBuild2023-04-03 11:35:132023-07-23 10:07:42How to prepare a great construction client report (Infographic)